Friday, November 30, 2012

No Bake Cookies

It's no bake November! Well, not really, see our Pie Weekend post if you need proof. But no bake cookies were an excellent post-Thanksgiving treat. These cookies require simple ingredients, 5 minutes plus some cooling time and a sweet tooth!


Here's the recipe:

1 3/4 C. white sugar
1/2 C. milk
1/2 C. butter
4 tbsps. unsweetened cocoa powder
1/2 C. peanut butter
3 C. quick-cooking oats
1 tsp. vanilla extract

In a medium saucepan, combine sugar, milk, butter, and cocoa. Bring to a boil, and cook for 1 1/2 minutes. Remove from heat, and stir in peanut butter, oats, and vanilla. Drop by teaspoonfuls onto wax paper. Let cool until hardened (this goes faster in the fridge or freezer, but room temperature is fine too).


Friday, November 16, 2012

Apple Cider Caramels

These delicious caramels were a last minute addition to the pie weekend agenda and they were completely worth it! 
  

These start with simple ingredients, cider, butter, cream, sugar, cinnamon, and salt. We used spiced cider from Trader Joe's assuming that it would only add extra deliciousness.

 
Start by boiling the cider down for about 40 minutes. After you put the cider on the heat, you'll have about 5 minutes to prepare for the delectable scent of fall to permeate your entire house. Once it has boiled down to about 1/4 of what you started with, add all the other ingredients except the salt and cinnamon. Mix well.


Put back on the heat and attach your trusty candy thermometer.


When the thermometer reads 252 degrees (yes, I said 252, and I agree that it is a tad ridiculously precise, just get it as close as possible), remove the pot from the heat and quickly stir in the salt and cinnamon mixture you prepared earlier. 


Smooth the contents of the pot into a square 8x8 pan lined with parchment paper and let cool in the fridge for 1-2 hours. 
Turn the caramel slab onto a cutting board and carefully remove the parchment paper.


Prepare a knife by coating it with a light, flavorless oil - we used vegetable oil. You'll want to do this between each cut to avoid a sticky mess. 


Cut into 1" squares and store with wax paper. Enjoy! These are incredibly rich but great little treats to share with anyone who needs a little bit more fall spirit in their lives.

Sunday, November 11, 2012

Pie Weekend!

We have been looking forward to pie weekend since, well, this time last year. We first tried apple pie cookies around Halloween and vowed to make them (and every flaky bit of their delectableness) an annual fall tradition. Our first from scratch apple pie came together (in the middle of the night) in preparation for the Popovich Thanksgiving of 2011 and there was no way we could survive Thanksgiving 2012 without another. In standard Sarah and Stacie fashion we decided to undertake an enormous amount of pie, hence the need to reserve a full weekend for the creation of this monstrous amount of pie. This adventure took about 9 hours, with two breaks for snack-age, so when we say it was a commitment, we don't do so lightly.


As we decided yesterday, it's only too much of one thing if the cashier says something to you and Sarah made it out of the store with 7 pounds of apples without that happening, so despite the heaping pile of fruit, we think we were fairly reasonable. After all, we settled on four batches of apple pie cookies and an apple pie - that's a lot of apples! (And flour, we went through nearly 7 pounds of that also...don't worry, we are planning to purchase a case to share in the near future).
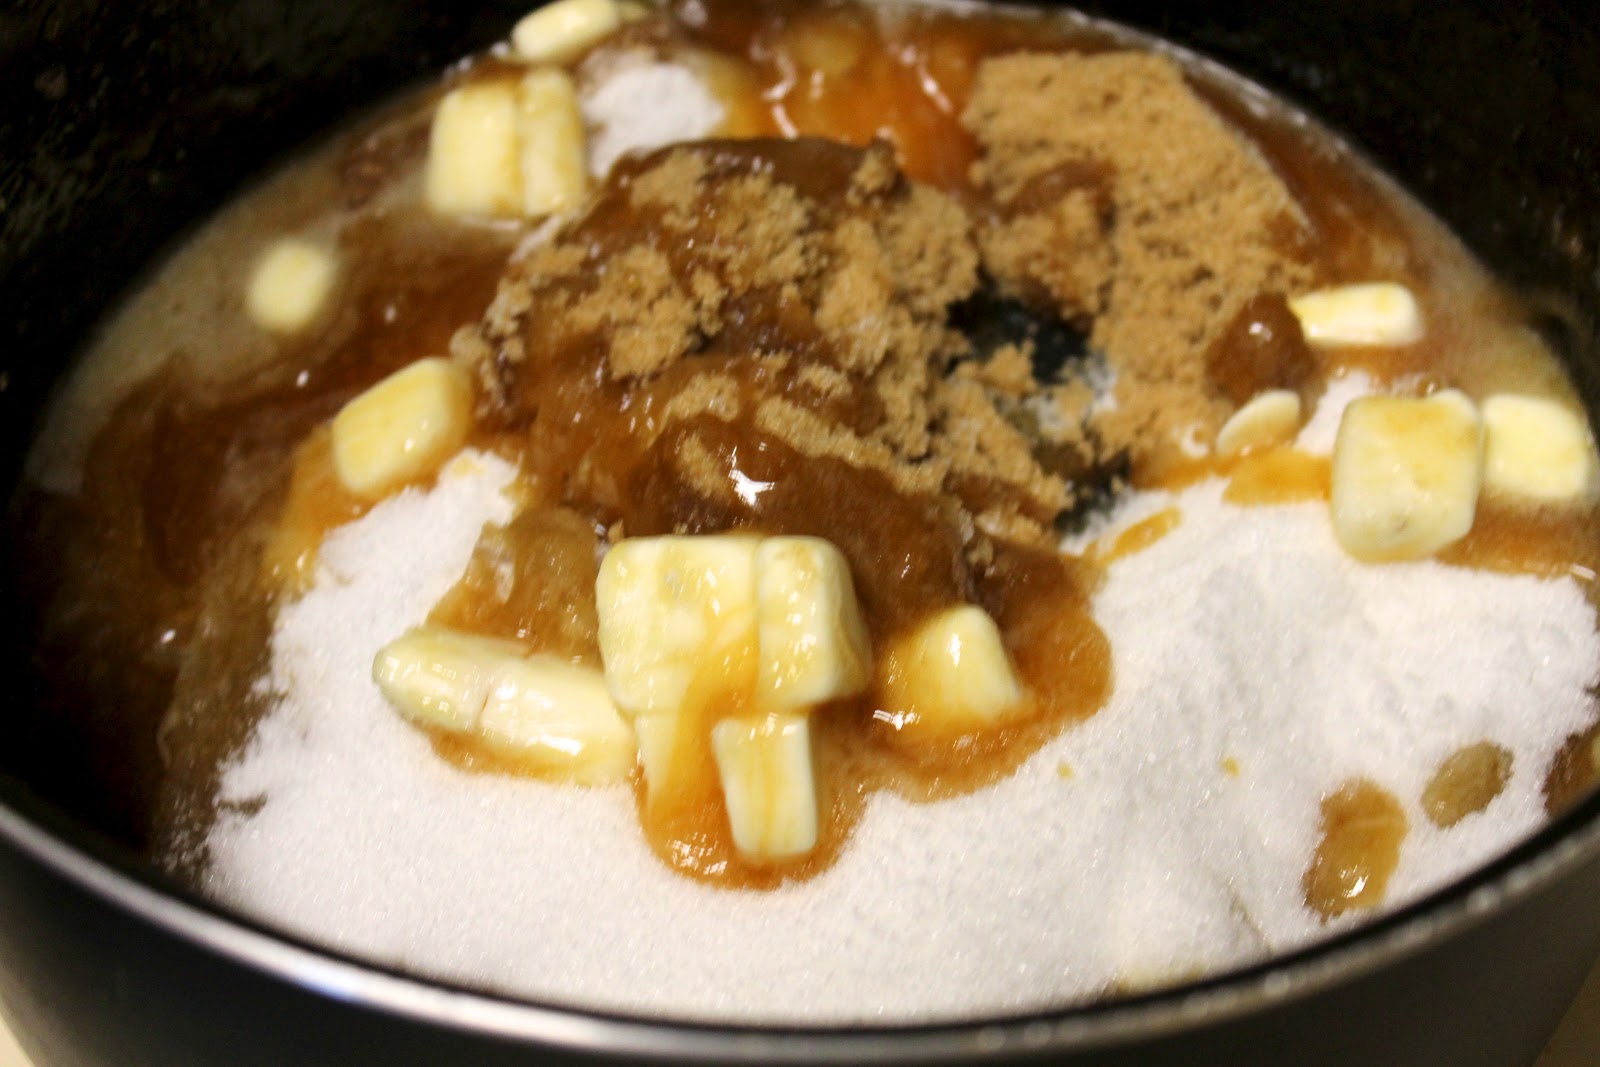

Our friend Deb from Smitten Kitchen was our go to for the recipes for this adventure and we started with nearly frozen butter that we tirelessly folded into 6 recipes worth of pie dough. It's important to keep pie dough cold the whole time so that it doesn't get so sticky it's impossible to work with. This may lead to bruises on your hands from the mixing and rolling, but it's way better than a sticky unmanageable mess of dough - trust us. 


Each recipe has to be halved (or quartered if you doubled it to start) and wrapped in saran wrap to chill in the fridge (really, don't play around with warm pie dough). The 'leaning tower of dough' display is not a necessary part of the pie process, but it does rather nicely display the epic nature of this process. 


Another thing you don't want to play around with is a poorly floured surface - be generous, both with the rolling pin and the counter. 


Each of the cookies needs a top and a bottom crust layer. We used biscuit cutters, but any round cookie cutter would do the trick. 


The actual pie crust is less precise, though it will roll out into a much more even circle if you start with a disc from the fridge. Once you've reached the desired thickness, roll the dough around the rolling pin (yep, that's really how you do it!) and roll it back out onto the pie pan. Gently push the sides together to allow the middle to sink into the pan and then carefully press the dough into the sides and corner of the pan.


Coat your sliced apples (4 gala and 3 granny smith) with cinnamon, sugar, nutmeg, all spice and a little lemon juice. Once evenly coated, heap into your prepared crust. 


The lattice might be the most fun part of the pie! Cut strips into rolled out dough (as evenly as possible) then weave them together into a lattice pattern. 


Carefully flip the lattice onto the prepared pie (this is a great place to call in some extra hands) then press the two crusts together. To complete the seal, crimp edges with a fork. You're ready to bake! Make sure to tent the edges of the pie with aluminum foil so they don't burn while the rest of the pie is cooking through. 


Smitten Kitchen suggests using apple slices for the apple pie cookies. We did that last year, and while delicious, we decided that it would be easier and tastier to chop the apples into tiny pieces and stuff the cookies that way. We are so happy with the results - we both agree that this year's cookies are better than last year's. 


We used the same spices for this filling as for the full apple pie, though there was slightly more lemon juice in an effort to keep the apples from browning during the chopping process (which took close to an hour, and that doesn't include peeling time). Mix well and drain any extra juices, if the mixture is too wet it will make the stuffing process miserable. 


Put a tablespoon full of the apple mixture onto one of the discs. Coat the rim in water with your finger. 


Add the other disc and press the edges together. You really want to make sure that there is a seal to avoid apples everywhere once the cookies hit the oven. 


Use a brush to coat the lid in egg whites, this will help with the golden brown color.


Drizzle with sugar.


Use a knife to make small slits in your cookies. Do not forget this step. If you do, your cookies may explode. No really. But, the design doesn't matter - use whatever appeals to you!


Crimp the edges with a fork for an extra flourish of adorable. 


The pie bakes for about an hour, but you should check it frequently in between. And really, don't forget to tent the edges. Think burnt pie, fire extinguishers, etc. The last step in the somewhat arduous (though totally worth it) process of these cookies is baking them. Unlike most cookies, they take a solid 20-25 minutes per tray. When you make four batches (totaling over 100 cookies) that's a loooong time. BUT, they are an absolutely delicious way to tide over any apple pie cravings that cannot be truly satisfied until Thanksgiving. Even better, they freeze well, so go ahead, make a few dozen!


Thursday, November 1, 2012

Carmelized Pears

 
In one last shout out to summer (even though it's still 85 degrees here everyday...) we decided some caramelized pears were a lovely light dessert after a heavy pesto meal. Who knew that adding a little more sugar and cooking fruit could be such a nice twist? These pears are delicious and have kept surprisingly well throughout the week. Here's the recipe:

3 pears (your favorite variety)
3 tbsps. butter
1/4 C. brown sugar
1 tbsp. water
1 tsp. vanilla

Quarter and core the pears - try to make them as even as possible so they will all cook through. Melt butter in a large skillet. Add pears, one cut side down. Cook for five minutes. Turn pears to other cut side and cook for five more minutes. Add brown sugar, water, and vanilla. Stir until mixed. Turn pears to skin side and cook for an additional five minutes, or until sauce has thickened. Serve with vanilla ice cream. 


Perfect Pesto and Pork

A little known fact (at least to me) is that basil happens to grow really well in Tucson during the month of October!  My basil plant has been booming so we decided it would be a great time to make some pesto!  Also, this recipe was the winner of our "Reader's Choice" poll we posted last week.   

So, here you go...  Enjoy this delicious semi-traditional pesto recipe: 


First, grab some nuts and toast them up 2-3 minutes over low heat.  We used a combo of pine nuts and almonds because it's what I had in the pantry, but you can use all pine nuts, all almonds, walnuts, or any other combo of your favorite type of nut.  When they are lightly toasted, throw them in the food processor and pulse/grind them up until they create an almost flour-like consistency (picture below...). 


Then, pop a few cloves of garlic from their skins and add them to the food processor.  


Pulse the nuts and garlic together.  


I had to work in two batches (because my food processor is so small), but if you have a big processor, just throw everything in together.  

You'll need 40-50 big basil leaves, rinsed and dried, and about 1/3 cup of grated parmesan cheese. 


Once the ingredients are processed into a thick paste, add 1/4-1/2 cup of extra virgin olive oil until the mixture is the consistency of a thick soup.  Pour the mixture into a large mixing bowl.


Cook 1 lb. of pasta according to the directions on the box.  
We used fettucini, but you can use whatever type you like.  


Drop the pasta in salted, boiling water. 


Drain the pasta (reserving about a cup of the starchy cooking liquid in case you need it to smooth out the pesto).  Pour the hot pasta into the mixing bowl with the pesto.  


 Working quickly, toss the hot pasta with the pesto.  At this point, see how it looks.  You might need to add a little more olive oil or more cheese (always!).  Or a little more water to help it all stick.  You want the pesto to coat the pasta evenly in a fresh, pleasantly green way. 


A good addition to this dish is some thinly sliced boneless pork chops (chicken would also be delicious). 


We seasoned ours simply with salt, pepper, and a Bavarian seasoning mix from Penzy's. 


It was a great side dish to some amazing pasta!  

Hope you enjoyed this recipe.  Look for our next "Reader's Choice" poll soon!  : )