If there is anything better than Pie Weekend, it has to be Candy Weekend! We've been looking forward to this project for a while.
This year we committed to eight delicious flavors of hard tack candy to share with friends and family to continue last years tradition. We made extensive improvements to our process from last year, implementing a variety of 'stations' and saving enormous amounts of pain (think cuts and burns) and effort (hours upon hours of strenuous scissor use).

Hard candy is made of corn syrup, sugar and water. You can add flavoring and color of your choice (we found these at a specialty candy store). But don't let the short ingredient list fool you, making hard candy is tricky and best done with two people.
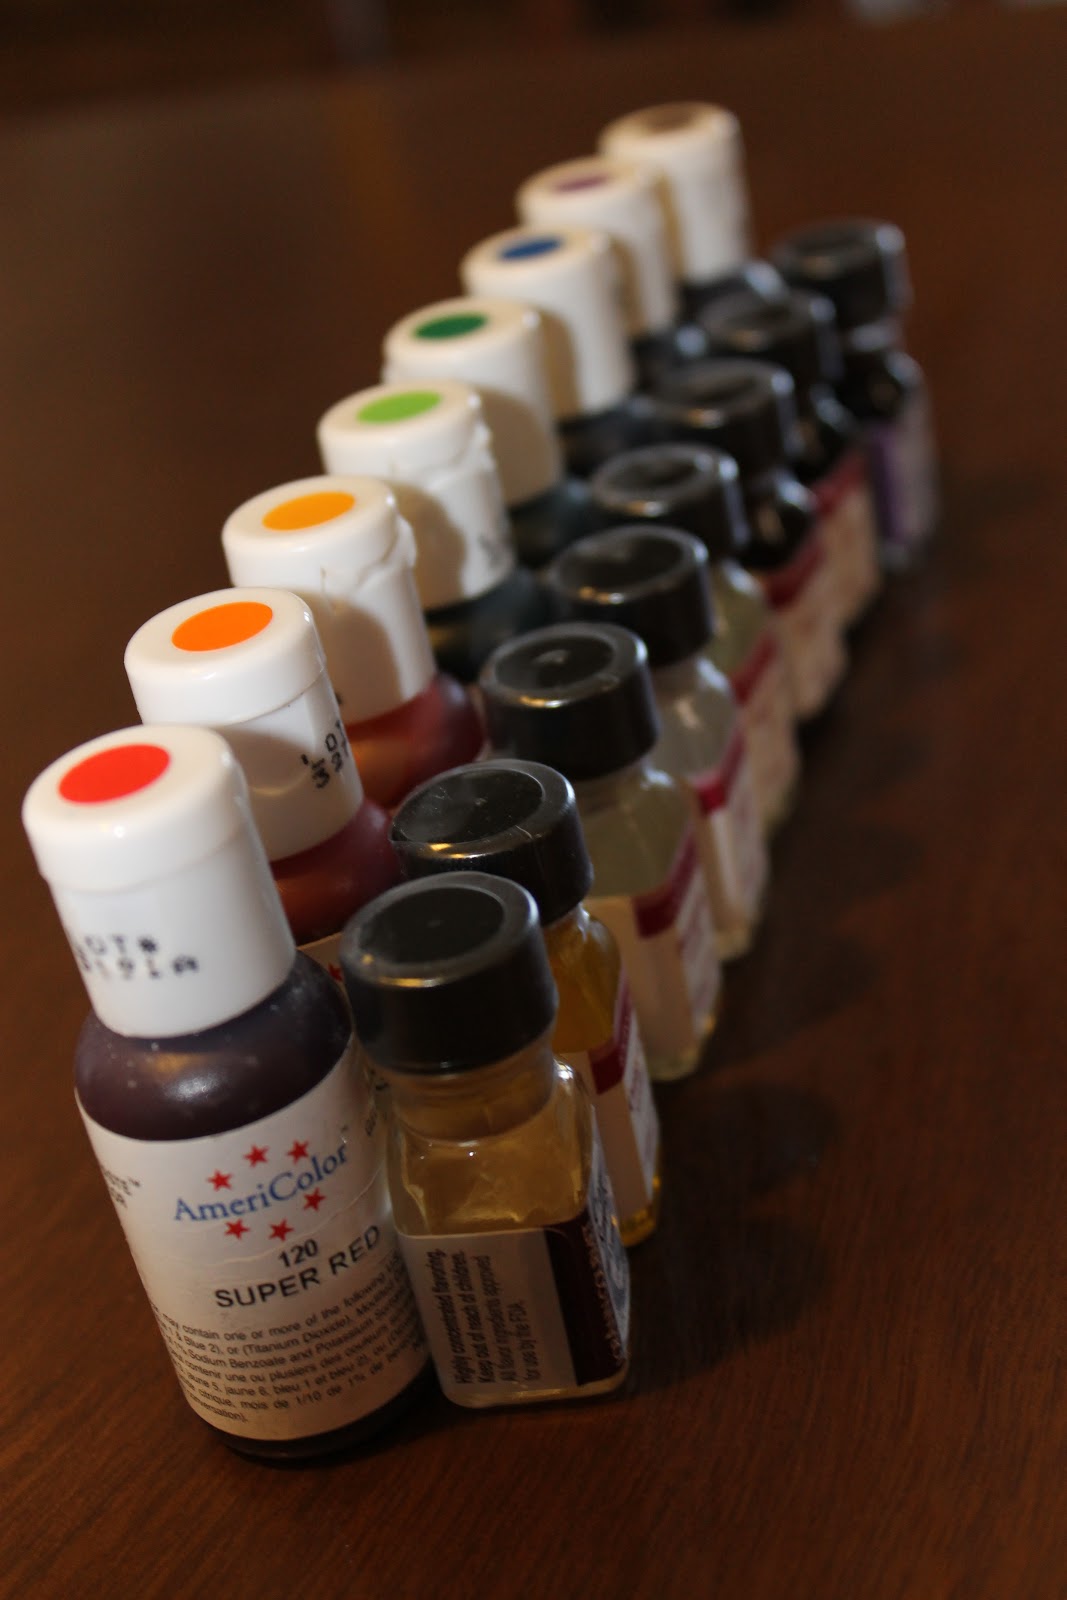
An important note about the food coloring: Don't use the regular food coloring products that you can find in the grocery store. For this candy, you really need to invest in the special kind (that is more like a gel) because it has a lower water content than the regular ones. You really only need 2-3 drops for a really vibrant color.

Picking flavors is one of the most fun parts of the candy making process, and the easiest place to over indulge - we could have easily left the store with twice as many flavor options. This year, we chose cran-raspberry, orange, pineapple, apple, peppermint, blueberry (last year's far and away favorite), grape, and maple (and yes, you will want pancakes every time you have one of those pieces).

Candy making is an extensive process - it's very important to have a snack station available to avoid low blood sugar throughout and to preserve your friendships. : )
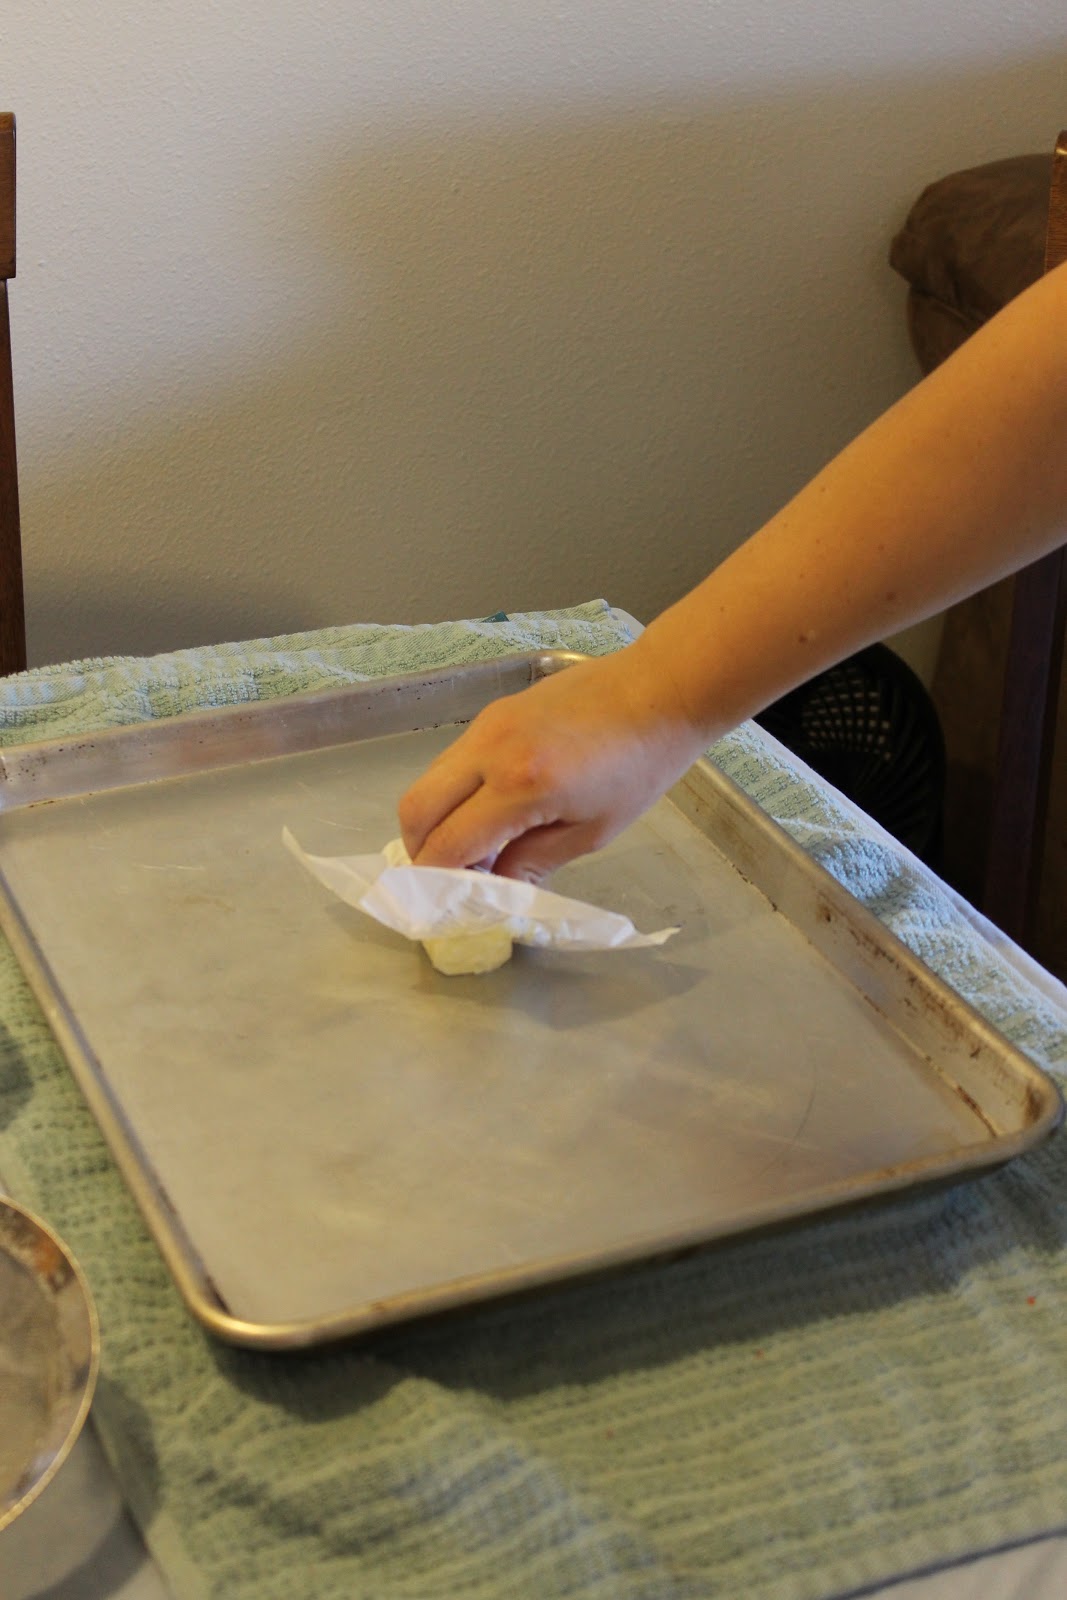
It wouldn't be a 2 Small Kitchens adventure if there wasn't butter involved, make sure to butter your pan well to avoid the candy sticking everywhere. Many recipes will suggest wax or parchment paper, but we suspect that will lead to a far bigger mess than anything else.

Combine 3/4 C. corn syrup, 1 C. water and 2 C. sugar and bring to a boil. Keep an eye on your candy thermometer - it's slow at first, but once you get to 240 or so, things start to move really quickly.

Add color when the mixture reaches 260 degrees and let the boiling motion mix the color. Although it's tempting to stir, we've found that just letting it boil will do the trick.

At 300 degrees, add the flavor of your choice and immediately remove from heat. Stir gently to fully combine the flavor and quickly pour the mixture onto your prepared pan. Make sure to get soapy water in the pot before the candy hardens and becomes hard to remove.

This year, instead of trying to cut the candy with scissors while it was still hot (hence the cuts and burns), we decided to let the candy cool completely first. And the cooling station was born! Sarah's balcony was a great space for the pans to cool while we started on the next batch.

After the candy cooled, we moved it back inside to the smashing station. We used a meat mallet (which, in our lives, has the sole purpose of crushing candy) to break the candy into manageable pieces.

Crushing the candy in this way creates a lot interesting shapes and sizes which means that it's important to do some quality control. We did our best to make sure that all of the pieces were roughly the same size and that there weren't too many sharp points. At this point, the candy should look like beautiful pieces of stained glass.
Once all of the pieces are ready, pour them into a bowl of powdered sugar. Mix thoroughly to coat each piece (this adds a little sweetness and prevents the candy from sticking together). Use a colander or sifter to remove the excess powdered sugar.

We like to mix all the flavors together so everyone gets something they like! And, the colors are so pretty all together.


This candy is perfect to put into cute jars or fancy clear bags to give out as holiday gifts!
Thanks for reading about Candy Weekend...we're looking forward to posting again soon about a Tucson holiday special - tamales!